First, I need to apologize for my last post if I gave the impression that I was going to
permanently stop posting bib and cloth patterns. I only meant that I was moving on to other things
temporarily. Apparently, this caused some confusion judging by the number of comments and personal emails I received. I'm flattered to hear from so many of you, but I'm sorry if I scared you into commenting!
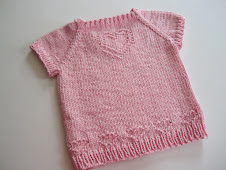
I'm still working on the t-shirt pattern. I've knit a couple more, including this variation with a butterfly and an eyelet trim:
Check out the cute button:
I also did a plain version with a ladybug:

It's hard to see in this picture and I'm not as thrilled with it as I hoped I would be.
Both were knitted with Universal Yarn Cotton Supreme. This is a worsted weight and may just be the softest yarn I've ever felt! It's 100% cotton and is put up in 180 yard skeins. It's wonderful to work with and each shirt only took one skein. I didn't have a lot to spare when I was done, but I didn't feel like I was cutting it close either!
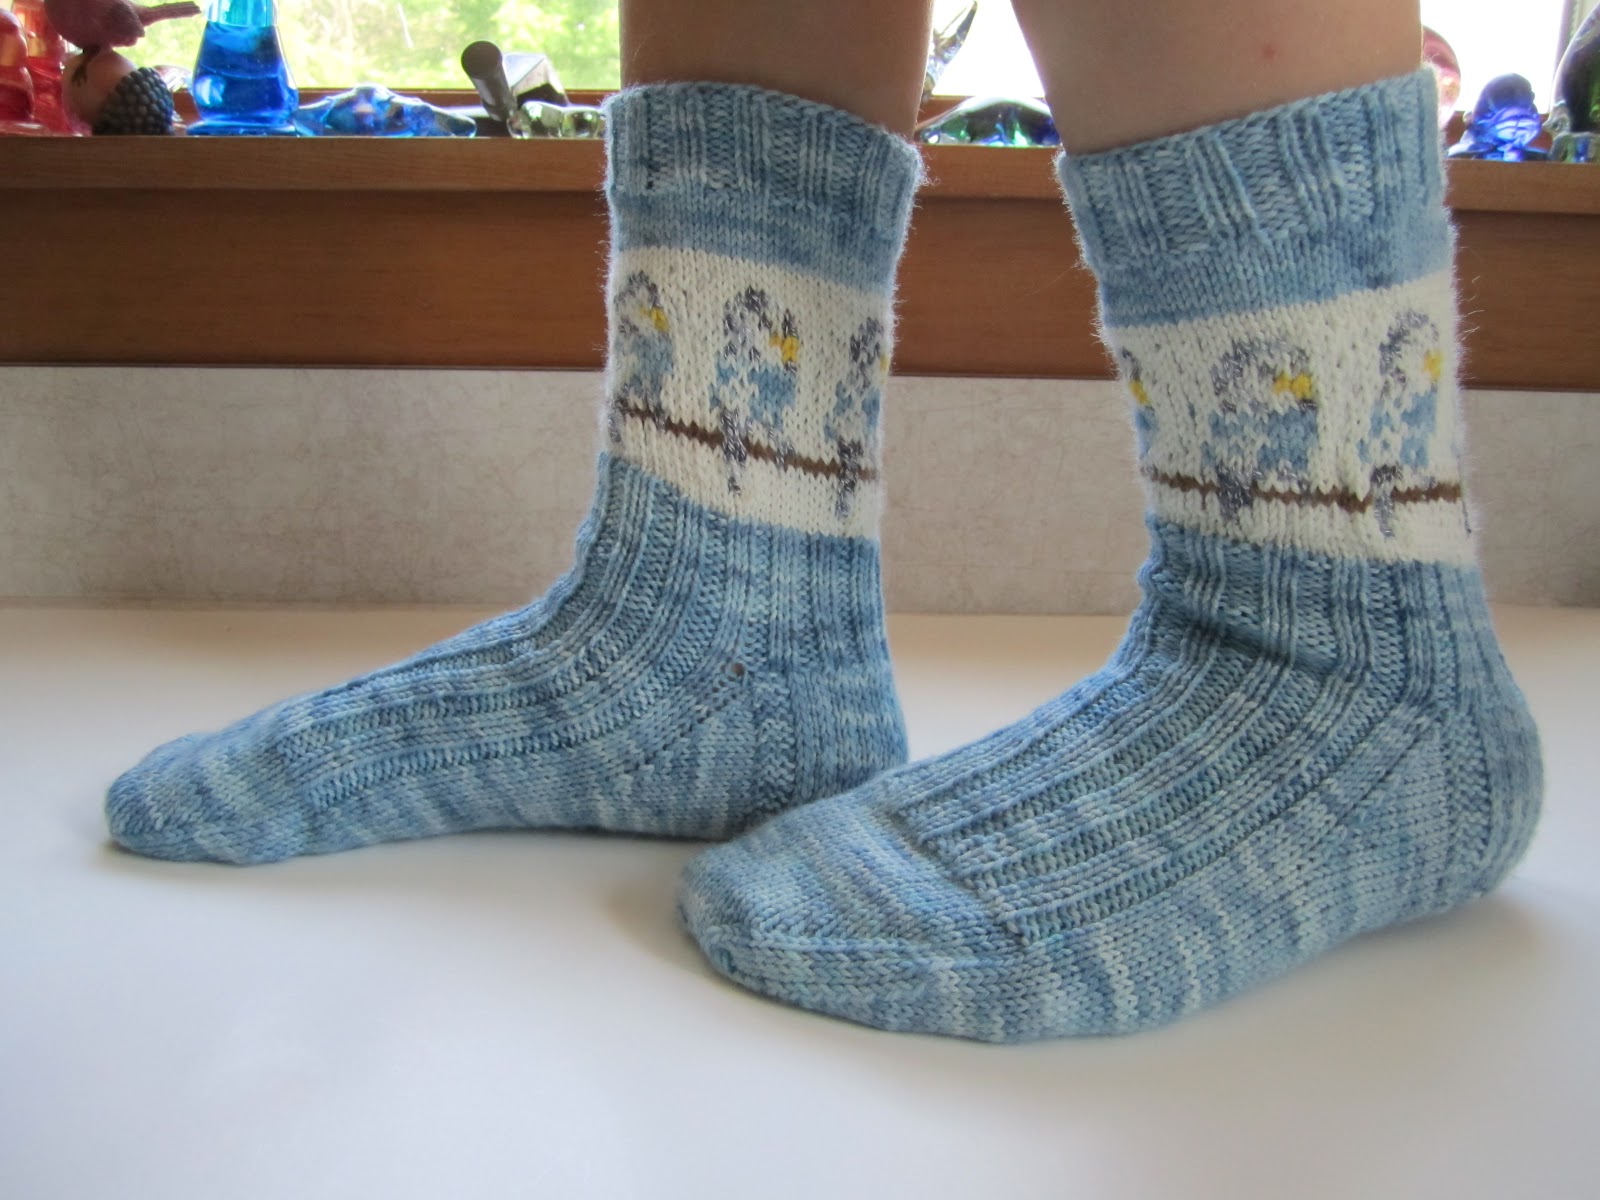
I was inspired to make a ladybug soaker to match.
I found the pattern on Ravelry
here. It was so much fun to knit. Sandra has so many cute patterns and I can't wait to try a few more!
You only use two colors at a time. I used Cascade Sport 220 which might not have been the best choice for a soaker. However, because the yarn is stranded, it adds an extra layer to make up for the lighter weight. When I reached the crotch, I needed to keep the thickness so I used the same method I do for the heels of socks. First row is "slip 1, k1, etc" and the next row is purled. I was pleased with the results and it's just a fluke that the butterfly shirt also matches the soaker!
As for the shirt pattern, I'm still trying to work out the kinks. I can already tell that it needs to be longer, however, before I go any further, I need to have Baby Ruth (or "Babe Ruth" as she's known in our family) try it on. It might be important to have a shirt that actually fits, don't you think??
Finally, I want to address a question that
Ally left me in the comments. She said she was having a problem with her I-cords looking neat. I have a couple of suggestions. First, after you're done knitting them, give them a couple of good hard tugs. Also you can do what I do and pin each end to an ironing board and stretch them out, then give them a good steaming. Don't let the iron touch the fabric, but hold it above it and really hit it with steam. This is also how I block my bibs. Of course, you could always try using my crochet method. Crocheting the ties is pretty easy and so fast. I will admit that you almost always have to steam them with this method. They look like curly fries otherwise. Hope this helps!